 Grimvector
Movement: connect your escape routes
Speed is useful when it takes you somewhere safe. Learn one movement chain at a time, then choose which part fits the incoming attack.
Build speed before spending it
Hold a movement direction long enough to accelerate. A slide needs ground contact and sufficient speed, so pressing Slide while standing still does not start one. Once it begins, a slide boosts horizontal speed and lowers the camera. Jump during the slide to carry momentum into the air.
Use a clear stretch of floor for the first attempt. Try move → slide → jump, then add a second jump only when you need more height. Looking toward the next route before jumping makes the chain easier to control.
Dash for a new position
A dash lasts 0.23 seconds with a base cooldown of 1.15 seconds. With movement input, it follows that direction; without input, it goes in the direction you face. To dodge a boss charge, hold a sideways direction before pressing Dash.
Dashing ends an active slide or wall run. Use it to leave a wall, cross an exposed gap or recover from a poor route. Watch the Dash Ready indicator and keep another escape route available while it is cooling down.
Wall run along the surface
Automatic wall running is enabled by default and can be turned off in Settings. Approach a wall at a glancing angle while airborne, moving along its length. Running straight into a wall does not trigger a wall run.
The airborne budget is 1.6 seconds. Jump while wall running to kick up and away; land on the floor or a platform to reset the budget. Use a broad outer wall while learning, then connect shorter surfaces once the angle feels reliable.
Use the arena's height
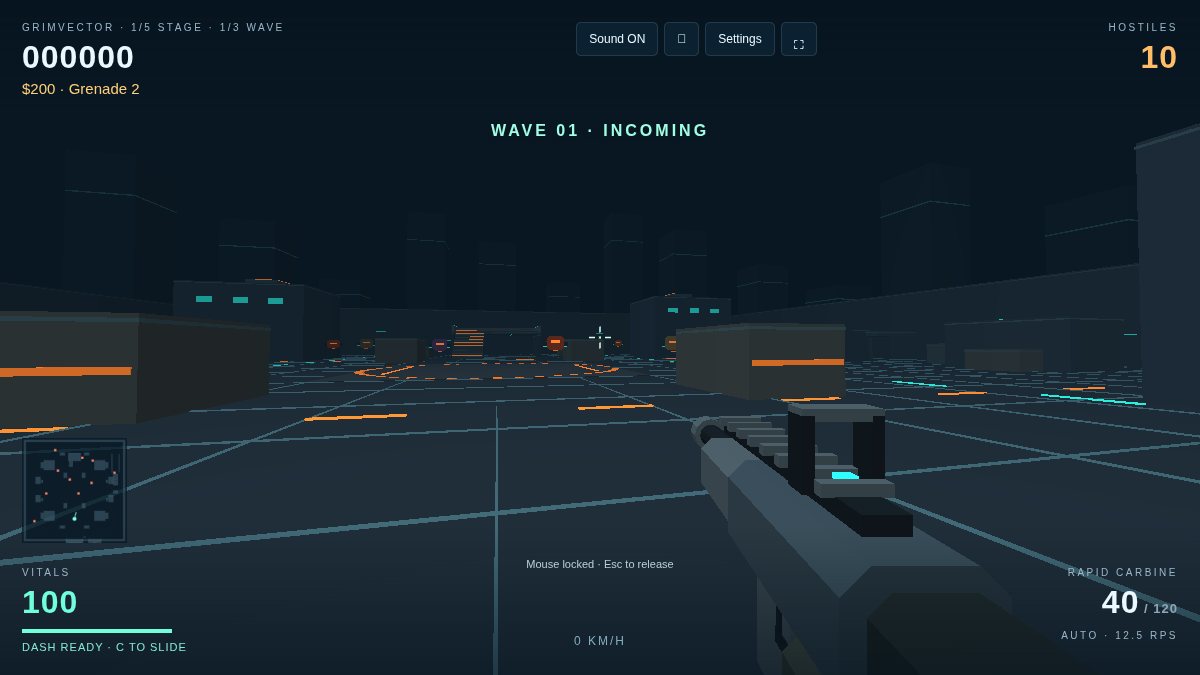
The stairs lead to a raised platform, while the ground-level passage provides a lower route. Height changes are useful when a crowd closes in, but a raised position still needs a way out. Reload after reaching cover rather than after stepping into an open lane.
Try a repeatable practice route during a shop break: cross the open floor, slide-jump toward cover, follow a wall briefly, then land near the stairs. The break has no countdown, but firing still spends ammunition.
Different warnings need different responses
- Shockwave: jump over the expanding ring; staying on the ground inside it can cause a hit.
- Charge: move sideways after the boss commits, using a dash if it is ready.
- Bombardment: leave marked circles before they detonate.
- Laser sweep: put solid cover between you and the beam.
A dash is not a substitute for reading every warning. The boss guide connects each encounter to its actual attack set.
Touch settings that help
Use the full-window game in landscape orientation. The left stick controls movement and the right side controls aim; action buttons can be resized from 90% to 120%. Try the default 115% first, then change it if buttons crowd the aiming area.
Mouse and touch sensitivity can each be adjusted from 0.2 to 3. If you overshoot a turn, lower the relevant sensitivity slightly. A stable frame limit is often easier to aim with than an inconsistent higher rate.
Timing reference
| Action | Requirement | Timing |
|---|---|---|
| Double jump | Press Jump once more while airborne | Two jumps before landing |
| Slide | On the ground, moving at least 5 world units/second | Up to 0.85 s; 1 s cooldown |
| Dash | Press Dash; follows movement input or forward aim | 0.23 s burst; 1.15 s base cooldown |
| Wall run | Airborne, moving along a nearby wall; option enabled | Up to 1.6 s; landing resets the budget |
| Wall kick | Press Jump while running on a wall | Pushes you up and away from the surface |
These are base values from the current game. Cooldowns and movement state can affect when an action becomes available; use the in-game indicators as the immediate reference.