 Grimvector
Single-player field guide
Five bosses. Read the warning.
The campaign boss waves are 4, 8, 12, 16 and 20. Each win unlocks a relic for the current run.
Attack sets and health checked against build 7. Model images are generated from the game’s actual geometry in a neutral pose; they are not screenshots and do not share a common size scale.
Campaign encounters
| Wave | Boss | Easy HP | Reward |
|---|---|---|---|
| 4 | Iron Gate Warden | 12,500 | Artemis Bow |
| 8 | Minotaur | 16,500 | Zeus Bolt |
| 12 | Cerberus | 20,500 | Hephaestus Cannon |
| 16 | Steel Titan | 24,500 | Poseidon Trident |
| 20 | Chronos | 28,500 | Chronos Cannon |
Normal multiplies enemy health by 3; Hard by 5. Bosses descend into the center over 3.6 seconds. Stay away from the landing pad during this warning. At 50% HP they enter an enraged phase with shorter gaps between attacks.
Stage 1 · Campaign wave 4
Iron Gate Warden
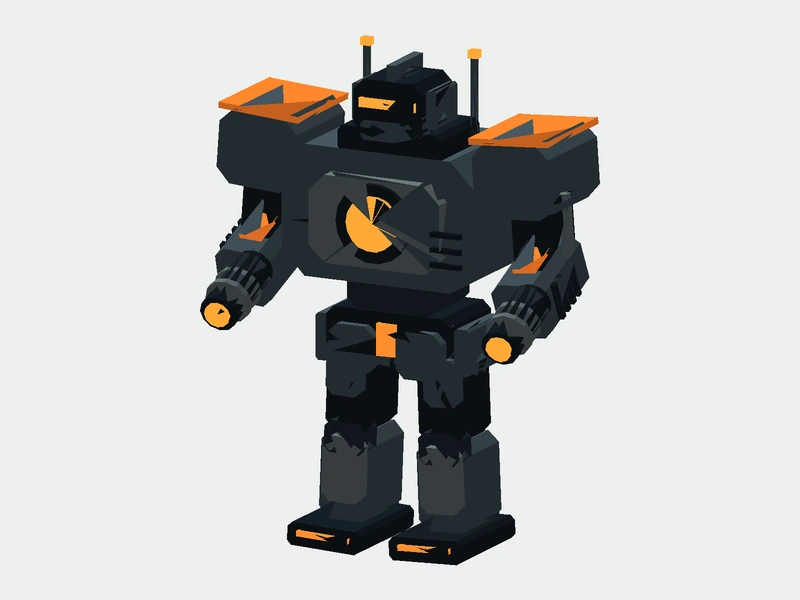
12,500 / 37,500 / 62,500 HP on Easy / Normal / Hard.
Attack set: Fan shot · Rising spikes · Ring shot · Reinforcements · Shockwave · Triple barrage · Charge.
Cross the fan’s aim instead of retreating along its center. The ring and barrage leave projectile lanes to move through. Jump as the expanding shockwave reaches you, then keep a sideways dash available for the charge.
Reward: Artemis Bow. Pierces targets. When its relic trigger is ready, firing places an arrow-rain field near the shot path; the field damages enemies repeatedly.
Stage 2 · Campaign wave 8
Minotaur
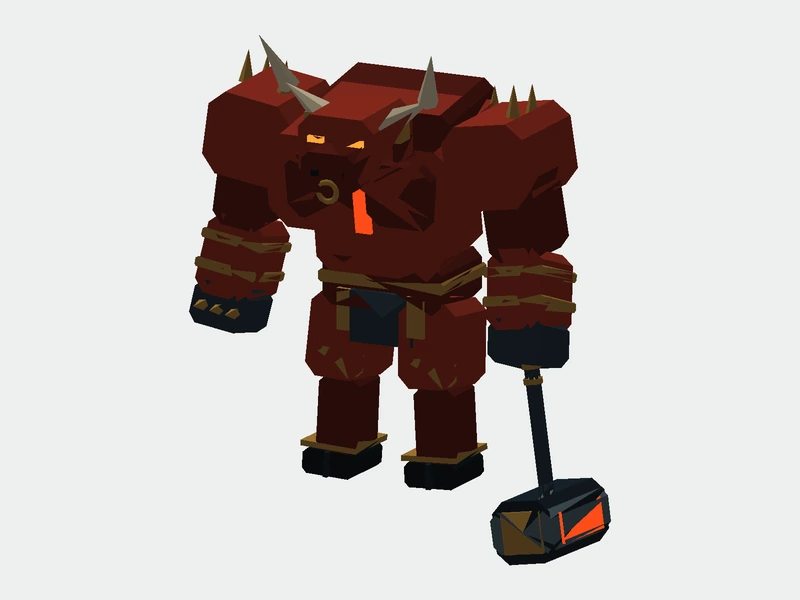
16,500 / 49,500 / 82,500 HP on Easy / Normal / Hard.
Attack set: Charge · Rising spikes · Shockwave · Reinforcements · Ring shot · Bombardment · Triple barrage.
The charge commits to its warned direction. Move sideways after the warning. For bombardment, leave the marked circles; for the expanding shockwave, jump. Reposition before reloading rather than backing into a wall.
Reward: Zeus Bolt. The initial hit can chain to nearby enemies. Its relic trigger places a lightning field that strikes a small area.
Stage 3 · Campaign wave 12
Cerberus
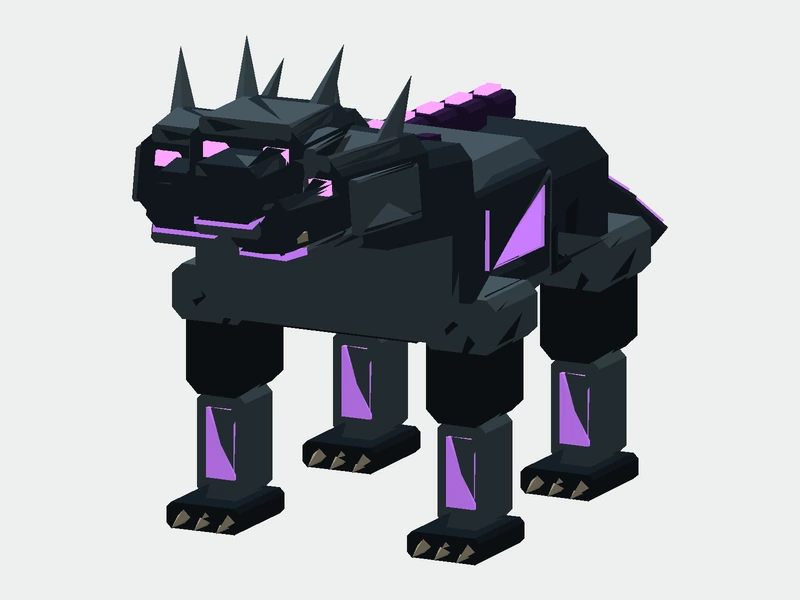
20,500 / 61,500 / 102,500 HP on Easy / Normal / Hard.
Attack set: Triple barrage · Rising spikes · Fan shot · Reinforcements · Spiral shot · Shockwave · Bombardment.
Its spiral emits rotating groups of four projectiles. Look for the next open lane while watching floor markers. A long reload while standing still can leave you trapped between the spiral and summoned enemies.
Reward: Hephaestus Cannon. The impact adds area damage. Its relic trigger leaves a lava field; the listed projectile damage does not include either effect.
Stage 4 · Campaign wave 16
Steel Titan
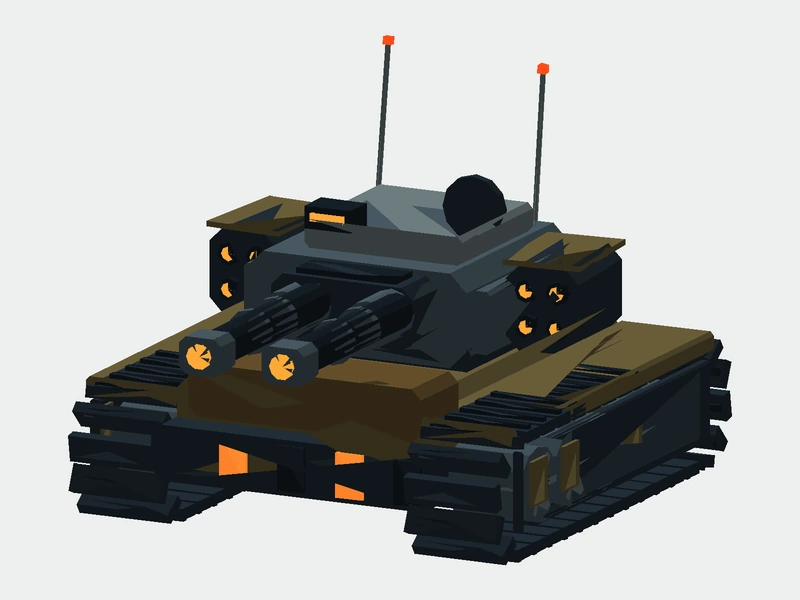
24,500 / 73,500 / 122,500 HP on Easy / Normal / Hard.
Attack set: Laser sweep · Rising spikes · Bombardment · Reinforcements · Ring shot · Triple barrage · Shockwave.
The sweep rotates two opposite beams. Solid cover stops each beam, so choose cover with another escape route before the warning ends. Do not remain behind it if bombardment or spike markers appear there.
Reward: Poseidon Trident. Fires three projectiles and slows targets. Its tidal field expands to a radius of 7 world units and repeatedly damages and slows enemies.
Stage 5 · Campaign wave 20
Chronos
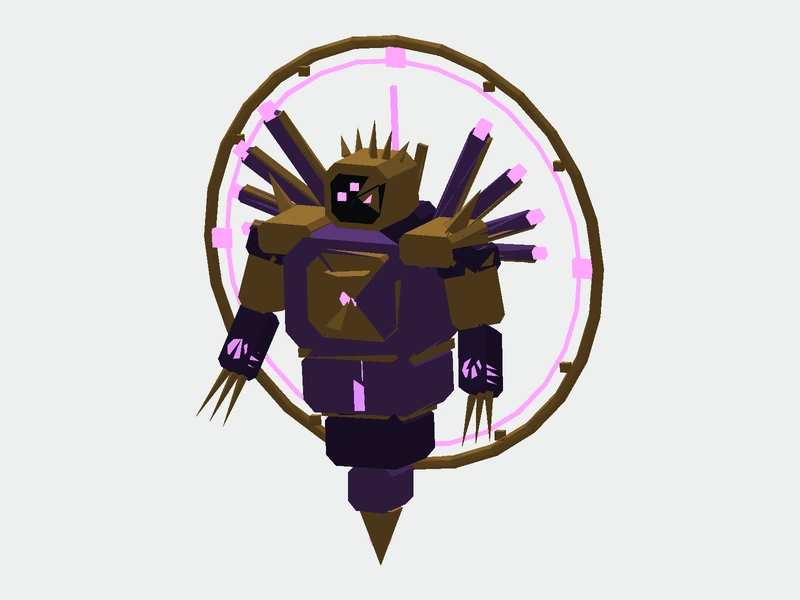
28,500 / 85,500 / 142,500 HP on Easy / Normal / Hard.
Attack set: Spiral shot · Rising spikes · Laser sweep · Reinforcements · Charge · Bombardment · Triple barrage · Fan shot.
Spiral, sweep, charge and bombardment require different responses. Move between pieces of cover, check the next warning before reloading and preserve a sideways exit. The summoned enemies can close routes that were safe a moment earlier.
Reward: Chronos Cannon. A heavy projectile with area damage and a slowing time effect. The separate time-rift field adds repeated damage.
Warnings and responses
| Warning | What happens | Response |
|---|---|---|
| Rising spikes | Markers appear near your position, then up to seven tall spikes rise after another delay. | Leave the circles rather than jumping vertically above them; the spikes reach 6 units high. |
| Reinforcements | The boss tries to summon a group of fast, shooter and tank enemies; at most 8 summoned enemies remain active. | Clear nearby enemies to reopen a route. Finishing the boss removes its summoned enemies. |
| Shockwave | An expanding ring moves outward along the ground. | Jump so your feet are at least 1.25 units above the floor when it reaches you. |
| Charge | The boss travels in its warned direction until it hits cover or its charge ends. | Dodge sideways; running directly away can keep you in its path. |
| Laser sweep | Two rotating beams extend up to 30 units and stop at solid cover. | Put solid cover between you and the boss. |
| Bombardment | Six marked floor zones detonate after their individual timers. | Leave the zones before they trigger. |
| Fan / ring / barrage / spiral | Groups of projectiles cover different lanes. | Follow the gap and avoid spending every movement option at once. |
Boss Rush is a separate mode
Boss Rush cycles through these five bosses twice, for ten fights. Round 1 starts at 12,500 HP on Easy; each following round multiplies that base by 1.5 before rounding. Normal and Hard apply their ×3 and ×5 health multipliers. The boss’s campaign stage does not set Boss Rush health.
You start with all four regular weapons, extra ammunition, five grenades and $12,000. Prepare at the shop, then use the terminal. Breaks and relic rewards continue between fights; the tenth victory ends the run.